Purpose#
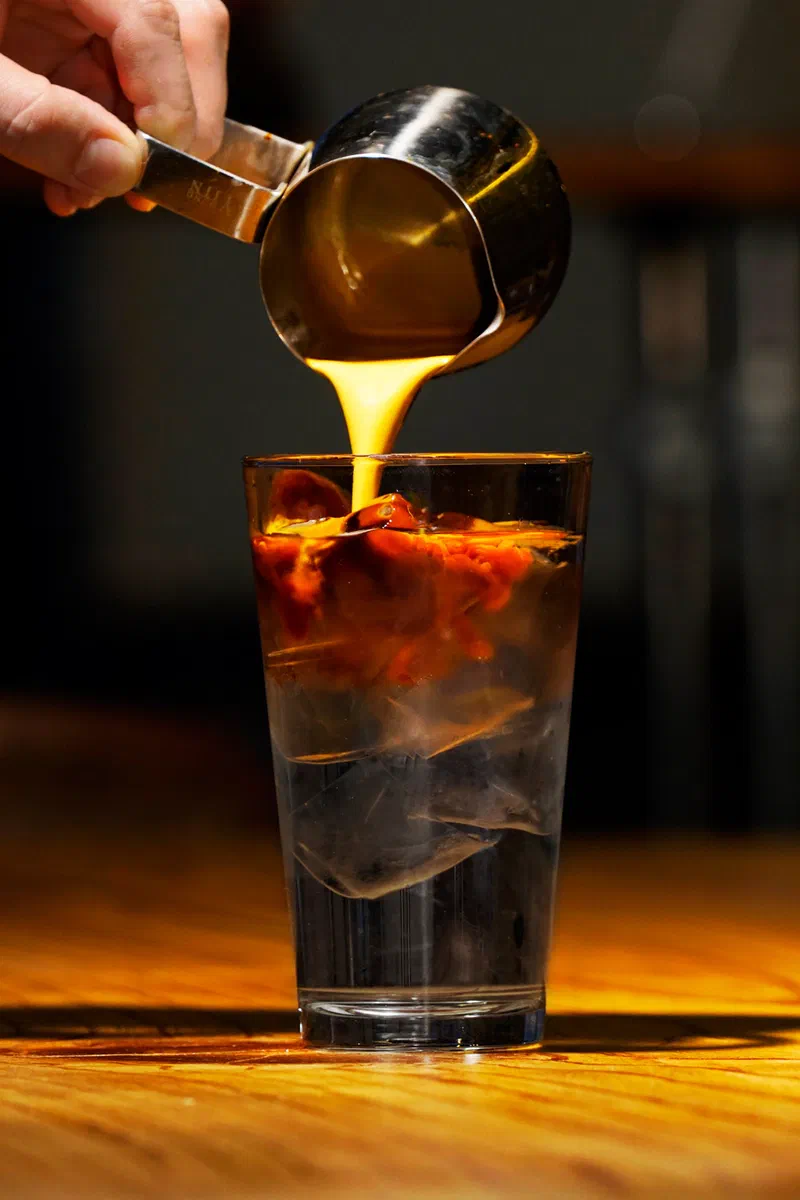
One of my favourite cafés in Korea is looking to boost its performance by increasing their presence online. One way to increase the performance of their brand is to take professional photos of their menu – quite like how major brands use Food Stylists to create pictures of their food for their menu.
In this article I will focus on the process of taking photos of coffee from setting up the lighting and positioning in the café, choosing the right settings for your camera and flash, timing the shot, and finally post-processing to remove any imperfections caused by bright lights.
Equipment#
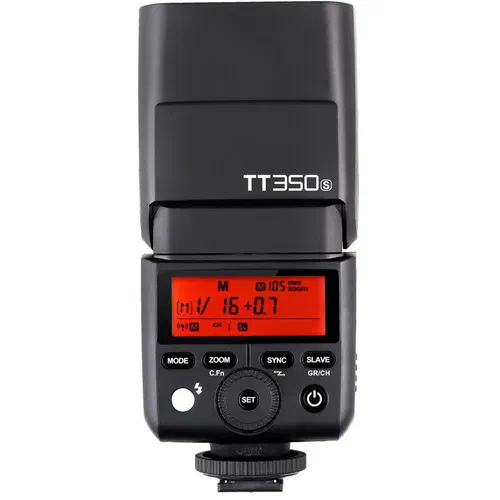
Sony A6000 paired with the SEL70200F4 - 35 mm Equivalent Focal Length 105-300mm
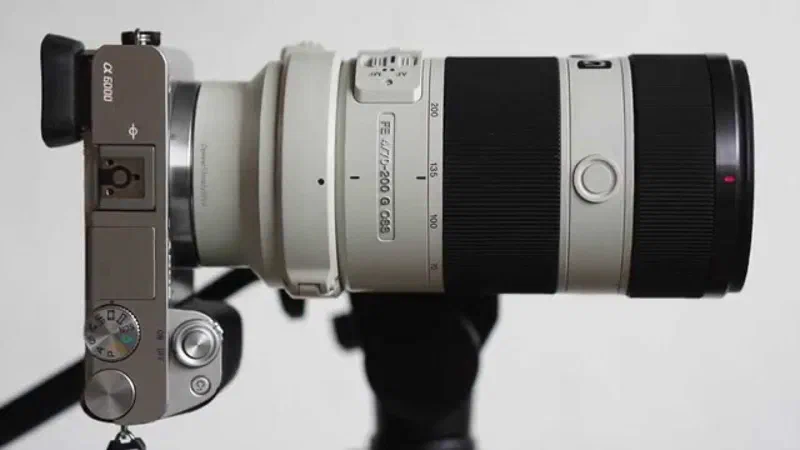
Light Positioning#
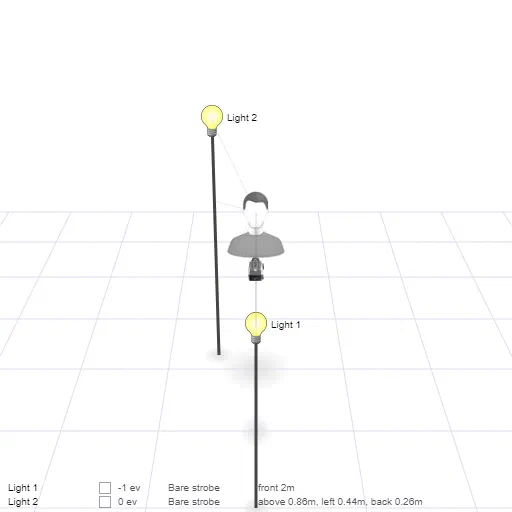
Master (Light One)#
Located on the camera’s hot shoe.
Slave (Light Two)#
Attached to the monopod above subject as shown above.
Reason for Speed light#
- Faster shutter speed equals sharper images. This is especially important when there is no tripod available to hold the camera.
- The non-speed light shutter speed limit is around 1/200
Camera Settings#
200mm#
Using a longer focal length flattens the image giving it a much reduced stretched appearance.
800 ISO#
Using a lower ISO ensures that the quality of the image is preserved while maintaining appropriate lighting
1/640sec#
By using a faster shutter speed, brighter objects being lit up by the flash are clearly visible with objects in the back completely dimmed.
F/6.3#
Using a higher f-stop gives a wider field of focus which ensures the closest point of the cup and the edges furthest from the camera are in focus.
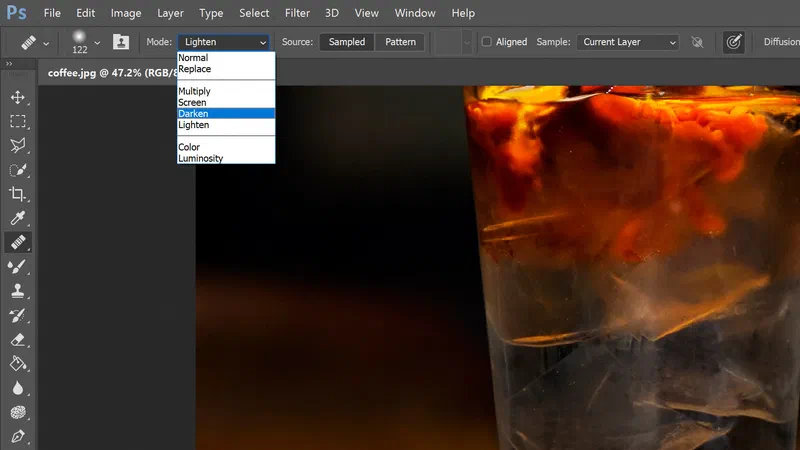
Post processing#
Photoshop#
Final Image#